Enhance Textures on Your Photos
What precisely is a texture? The expression texture in Photoshop submits to an photo that is used on top of your own photo that when accustomed via merge modes or cloudiness imparts a “texture” on your photo. The “texture” doesn’t have to be of a material texture, in reality it may possibly be almost everything, as well as a different photo. Usually though textures will be photos, but it might be a picture of clouds, rain drops on a windshield, bubbles, stream reflections, etc. That’s the exquisiteness of using textures, because they can be everything and joint noticeably to make a extensive variety of diverse looks.
For this tutorial we will be using Photoshop CS4, an original image, and a couple of textures. To obtain your own textures you can create some of your own, or otherwise, try out on flickr or deviantArt for accurately thousands of free textures. In this case we will be using a paper, and a bokeh.
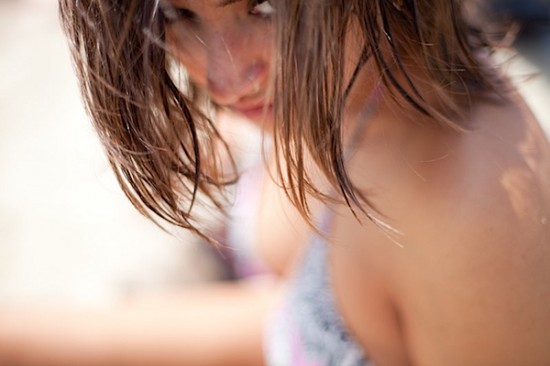
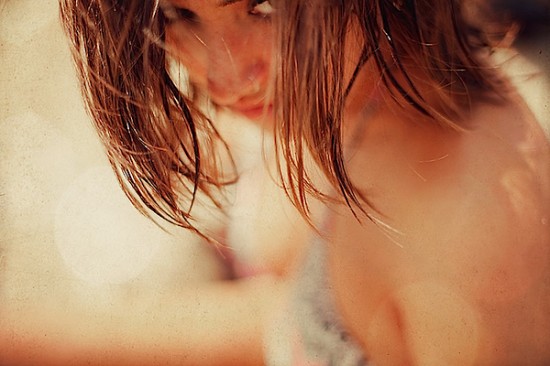
The Original Image
We choose this photo because of the gloomy mood of the focus and sufficient unenthusiastic space.
Step 1
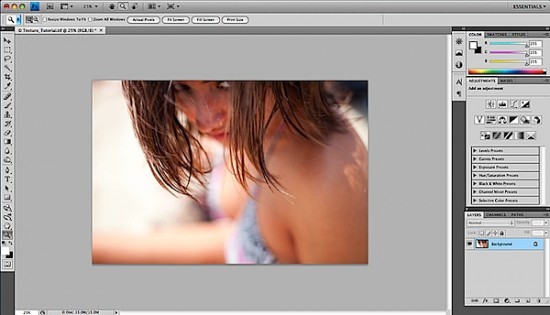
First thing to do is to open our image in Photoshop.
Step 2
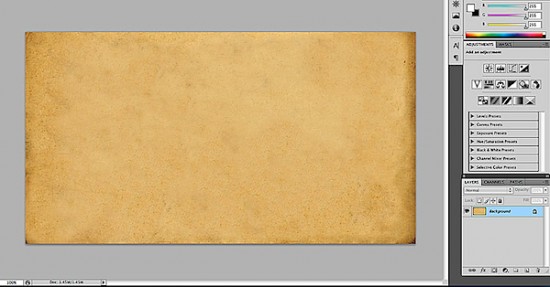
Then we are going to open texture file in Photoshop. In our tutorial we choose an old piece of scanned paper. So, right now we have two open files in Photoshop. Pull the texture file onto your original photo file as a layer.
Step 3
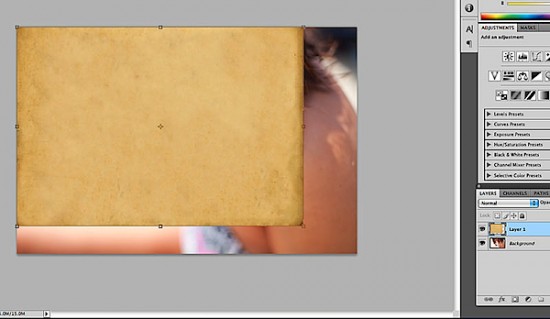
Now it’s time to resize the texture so that covers our original photo completely. With the texture layer highlighted, use the shortcut control+T to resize the texture layer, then simple press Enter to confirm resize.
Step 4
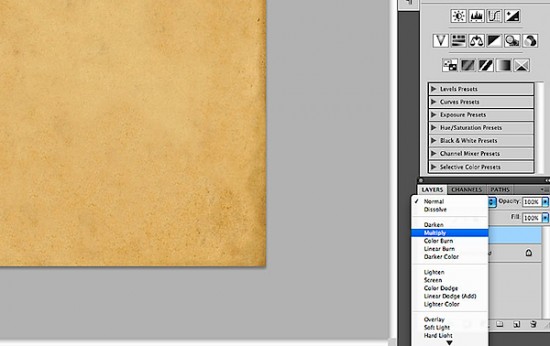
And here’s the magic. We’re going to modify the merge mode of the layer. Merge modes transform how single layer relates with the layer below. In our case we will be using a multiply.
Step 5
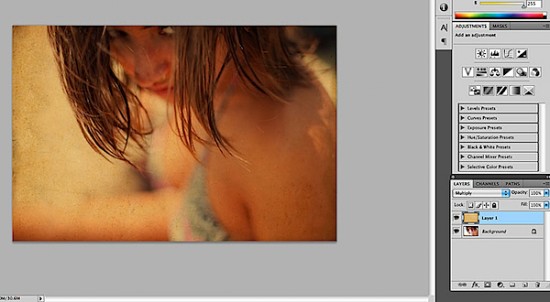
You will see right away a more vintage experience to the photo. This could straightforwardly be one way to go, but lets try an additional merge mode.
Step 6
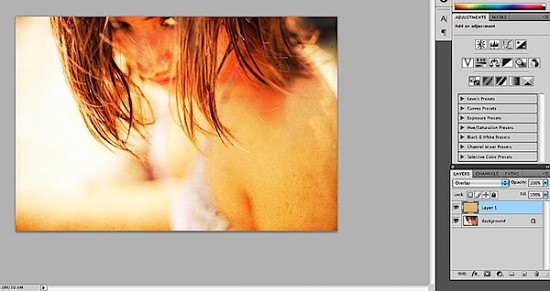
Overlay will help with lightening the photo, and while it’s too vivid, some perhaps like this way more.
Step 7
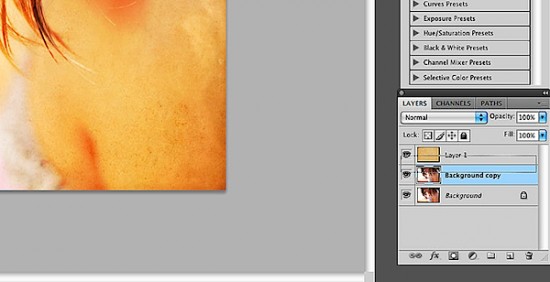
Now we are going to duplicate the original layer, and use this layer as a texture, just to help tone down a notch our final image. It’s important to move the original texture under between the background copies.
Step 8

This is the result of duplicated background on top of the texture and with soft light blend mode at 84% opacity. You can experiment with opacity and merge modes, and even with a layer order.
Step 9
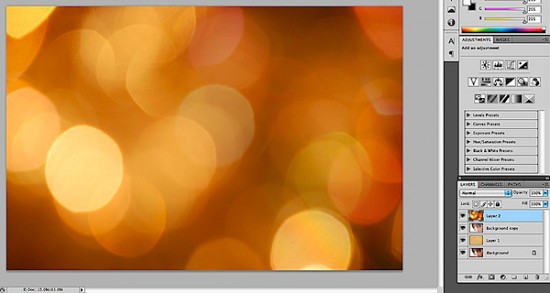
Now it’s time to open up our additional texture (bokeh pattern) and add to our layers.
Step 10
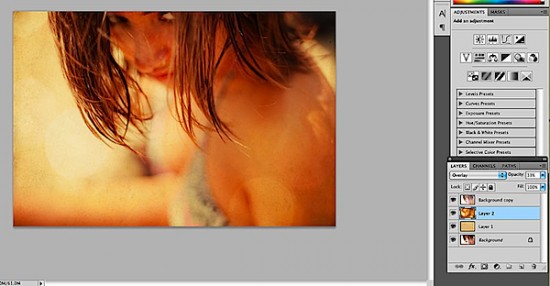
Simple move down the background layer and the first texture. Change the merge mode to overlay with a 33% opacity. Again, you can vary with opacity percentages.
Step 11
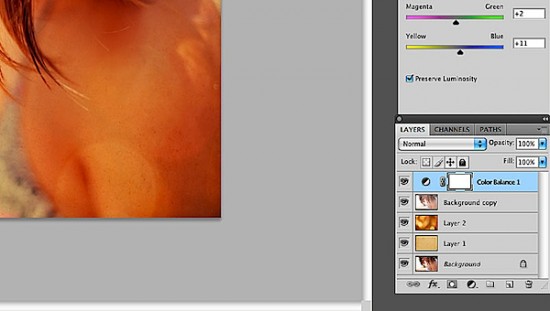
Now we can do some tweaking. We added a color balance modification in order to get the some red/yellow tones in our photo.
Step 12

In this step we going to add a couple of hue/saturation adjustment layers.
Step 13
This is our final image. It has a magnificent tone and full of character quality to it, and the on the whole feel is much more better than the original.
About the Author: Garlak Theodorakis
 My name is Garlak Theodorakis, I am graphic designer with almost 10 year experience in the field. Founded Tooft.com in january 2010 with idea to share my knowledge with the world.