
5 Illustrator tips you must know about
Designers follow one law when they are going about any project, any deadline or any work in mind: creativity. It’s a buzzword if you think about it, bread and butter for us and its novel sounding for the marketers. In the same bread and butter illustration is an art we all love to master but seldom proficiently use. Now with the tools available you have plenty of options open to you but smart working is still an issue. So with that mind there is a certain array of ways in which you can optimize the way you work on illustration. These are proven tips, able to give you a good grasp on quality illustration if you are still struggling with its use.
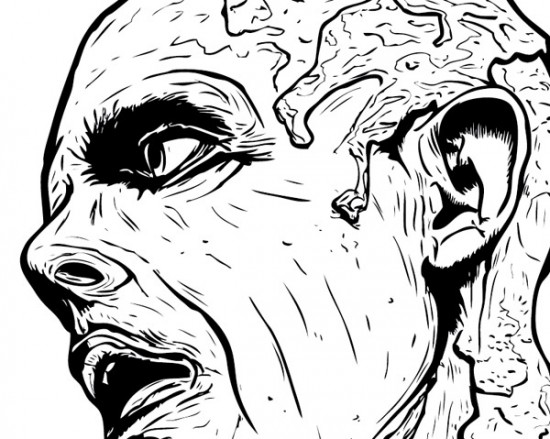
Blob brush
The old adage of drawing has never eased up on most illustrators. Now the path based Brush tool certainly does do handful but it gives you raster art which still needs tracing. For most in this field, that’s a good hour or two gone down. Blob brush covers that up quite wonderfully. It gives you vector art in Illustrator and it easily allows you to draw on the tablet. You don’t have to spend extra amount of time with the tracing options and can immediately focus on the other key components of your drawn art.
In working it works very similarly to the Photoshop brush tool except that it gives you vector editing properties in Illustrator. If you still have struggled with drawn objects until now then this is one tool you should definitely look at using a lot more.
Paste in place
You know how we used to hate having to realign, re shape or even experiment with so many placement clicks after pasting an element in the chosen screen? The paste in place is a very good option which lets you achieve that goal almost seamlessly. It actually comes forward with Paste in Front, Back and Place commands so that you have added options on the positioning of your copied element. Delightful if you think about it because a lot of redundant designs become quicker to produce with this one easy hack.
Clipping Masks
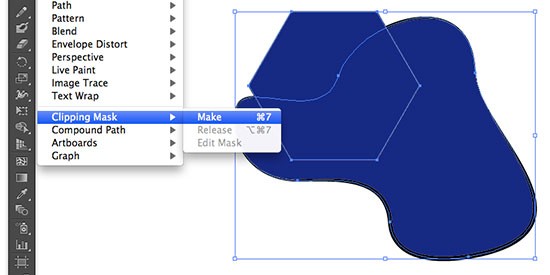
Now that Illustrator has become more common in design usage many just gloss over this tool and focus on Pathfinder (which is necessary). Clipping masks however will always be amongst the game changers on Illustrator. Think of an array of shapes or pattern which you wish to apply but only on a specific area. Now the drag and drop in that scenario becomes difficult which is why beginners often tend to be slow in Illustrator outputs.
If you are looking to become a dab hand at quick outputs, especially if the shape work of pattern filling is involved on large scale rendering then this is the option you should be looking at. There are a number of great tutorials available as well which go through nitty gritty of masks and how you can use them properly. If you’re able to get comfortable with this tool then the rest paves its way for..speaking of which.
Blend tool
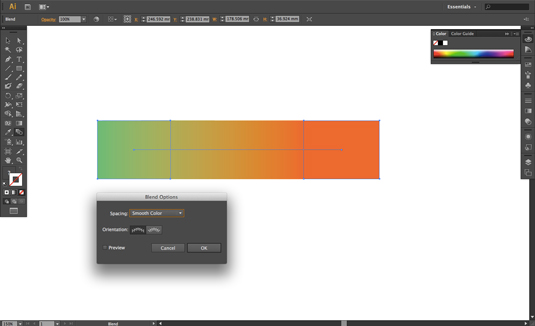
The best thing about Illustrator is the variety of ways in which you can achieve gradients within your elements. Gradient Mesh and panel are definitely worth learning but Blend takes the mark in terms of ease and convenience. You can simply take two shapes or elements with different colors and then (with the Blend tool selected) click on the first object followed by the second to create your gradient. You can even choose between the kind of blending and gradient you apply by double clicking the tool .Overall, it’s simple and quick to use, a great use if you are experimenting with complicated art and want to show results quickly.
The Appearance Panel
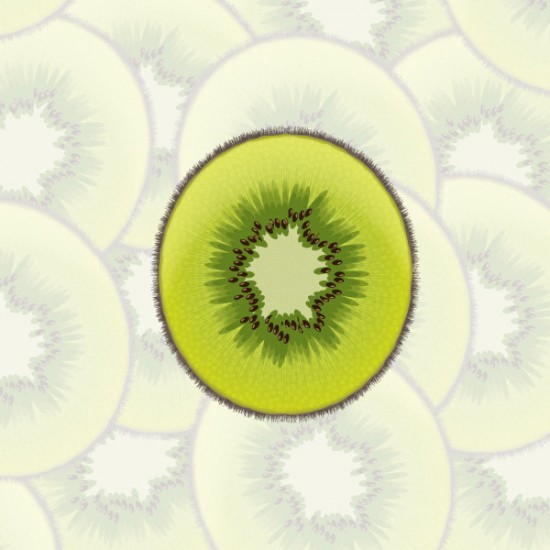
Quite frankly this is the tool to know even now after Illustrator’s years in running. Many designers before knowing this tool felt that Illustrator only comes with one kind of stroke or fill for elements. Appearance panel gives you options to experiment and stroke in multiple ways. Many artists even used to produce the same shape over and over again to add fills and strokes. This panel took away that liability and just gave you a great mix. Now you can edit your art then customize your strokes in as many ways as you wish.
About the Author: Garlak Theodorakis
 My name is Garlak Theodorakis, I am graphic designer with almost 10 year experience in the field. Founded Tooft.com in january 2010 with idea to share my knowledge with the world.