
Photo Reflection Effect Tutorial
There’s many of you asking is there any solution to create reflection effect in Photoshop like some apps for smartphones does. Well, of course there is, and it is a super easy, so you can add such a reflection to your photos for depth and some complexity. Furthermore once you learn how to make photo reflection effect in Photoshop you will realize that is way better looking then generic apps does.
Creating this effect looks really hard at first glance, but, as I said above, it really isn’t, once you learn few steps. This technique works particularly well on certain images, especially if you are looking for a HDR look. I’m going to show you how to create a reflection, and retains maximum flexibility for post processing image, so you can choose any color background you want, or if you want to put some text on it.
For the nice reflection these only few steps in Photoshop, and if you with advanced knowledge in this software you can create an action, so you will automatism you steps. It not big tutorials, so you can easily follow a big trend in web design these days.
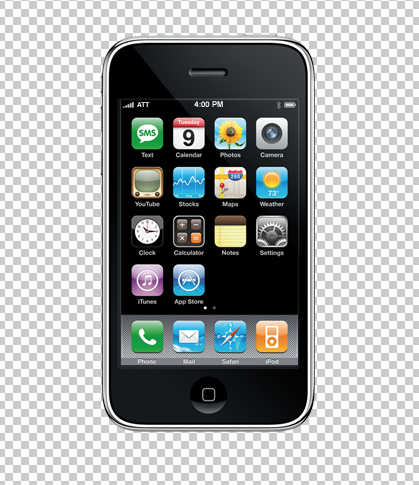
So, to start out we are going to choose an image to create the reflection. I’m going to use the stock photo of an iphone for this, but you can use any photo you like. It’s important to say that this effect works very well with icon and typography, especially if you are creating side banners for your web site.
When we’re open our photo in Photoshop, we are going to paint the background to black, and after that we are going to duplicate the iphone layer.
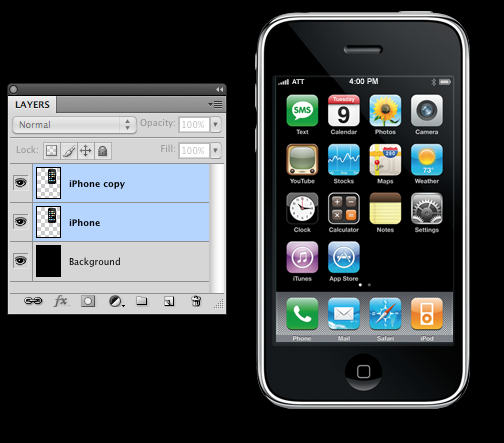
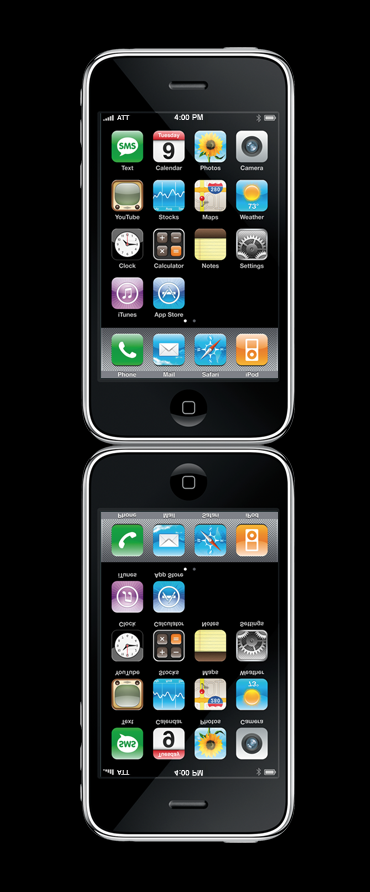
So, when we created an iphone copy layer we are going to select and rename it to some logical name like iphone reflection for example. After that, we have to flip this layer so it looks like turnover image, and move it right under our first photo, so we can work it for reflection effect. To do so select the copy layer and then go to Edit – Transform – Flip Vertical and just move layer under the first one, like here:
It’s time to make the reflection look more real. On that second layer we just create we are going to add a layer mask.
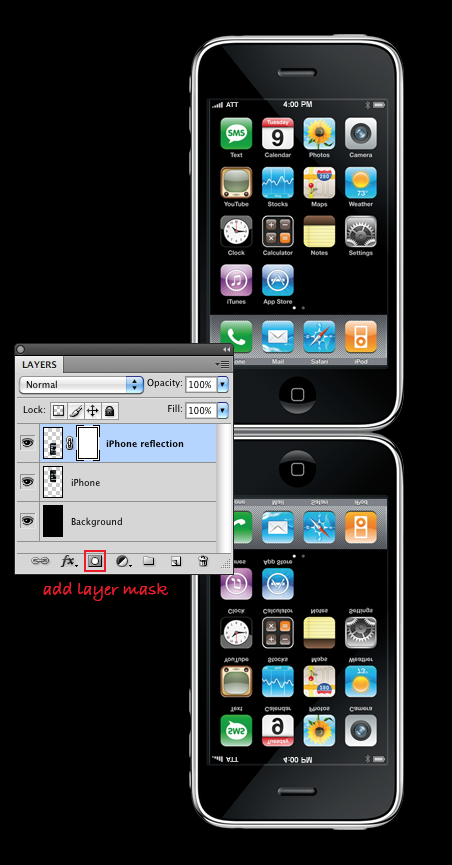
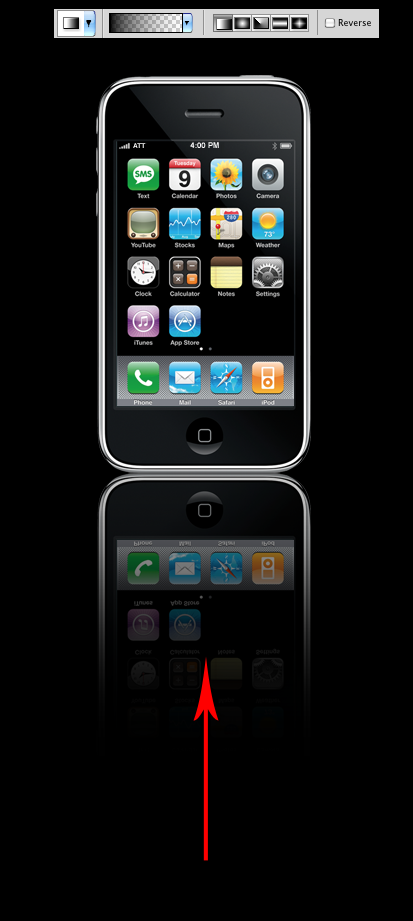
After that we are going to apply a gradient on the layer mask. Simply select the gradient tool and use the black color to apply the gradient until you get a good quality effect result like the one bellow:
This is the new look of our layers.
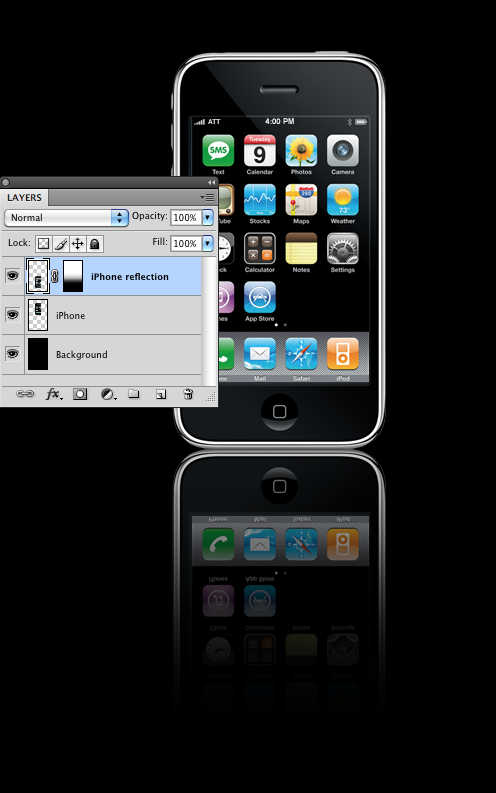
But, in order to create it even better we are going to subordinate the opacity of the second created layer to about 75% and that will get as a fine final reflection.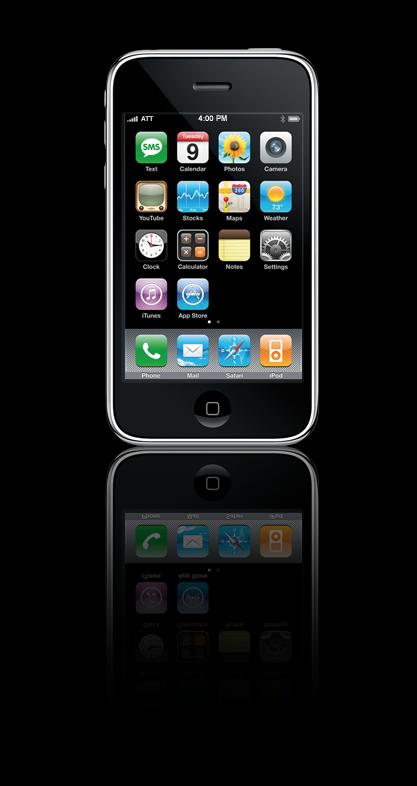
As you can see this procedure is very easy and can be used to make any type of mixture, if needed you can also affect some viewpoint particularly if you are working with 3D photos.
About the Author: Garlak Theodorakis
 My name is Garlak Theodorakis, I am graphic designer with almost 10 year experience in the field. Founded Tooft.com in january 2010 with idea to share my knowledge with the world.