The Best 10 Step Photoshop Tutorial For Designing Cool 3D Effects
Most of the people think it takes immense efforts and time while working on Photoshop but actually it requires smart approach exclusively combined with creativity that brings unexpected design outcomes in no time at all. Bringing cool 3D effects to text or an image is one of the fabulous things you can play around while using Photoshop. Let us now get to know how it can be possible in just a few minutes.
The basic elements and tools that you will use:
You might want to enrich the list of various ingredients in terms of designing a cool 3D effect to a given text by using Photoshop but, here we will focus on the simplest tools and features to achieve the end product;
– A stable version of Photoshop
– A simple set 3D oriented text
– A large Photoshop black canvas
Step 01 – Getting the 3D text ready and done to be used with Photoshop:
There are a number of tools through which you can make a set of 3D text but, in our list of preferred tools, Illustrator and Xara3D comes on top of the list to get a well-structured 3D object.
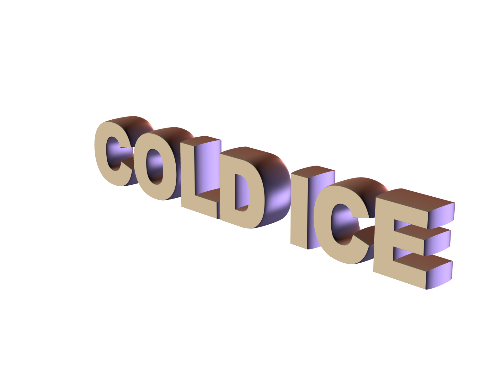
Step 02 – Placing the 3D Text onto the black canvas:
Once you are done with designing a cool set of 3D characters, now it is time to place it on the black canvas (1600px—1200px). Paste the 3D text and name it as “3D Text”. Now make use of the Magic Wand Tool to select the fore end of text and cut it as shown below;
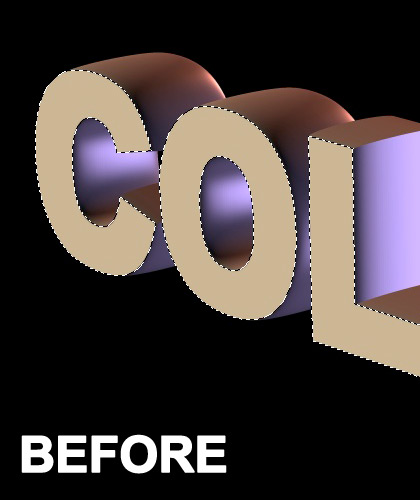
Step 03 – Creating a backup
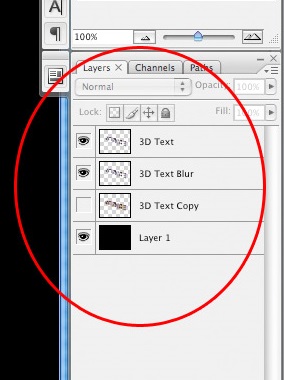
Next to appropriately designing and pasting the 3D text on to the canvas, it’s time to make a few backup and newer layers. Start by making a copy of the original layer “3D Text” as “Copy of 3D Text” and in addition to that make a new layer named “3D Text Blur”. Prefer setting the first copy “Copy of 3D text” to hide and used later while remaining the original “3D text” and “3D Text Blur” easily accessible as you will need to work with these.
The following screenshot clearly shows what to hide and what to show;
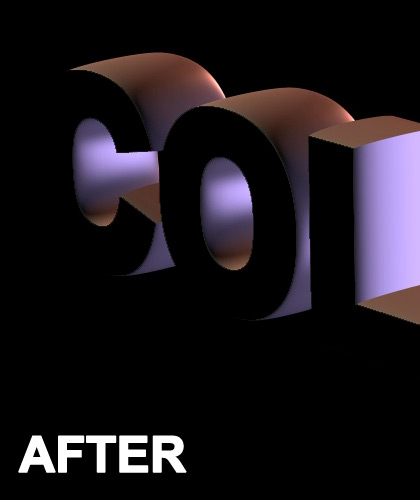
 Step 04 – Adding effects and blending to your work:
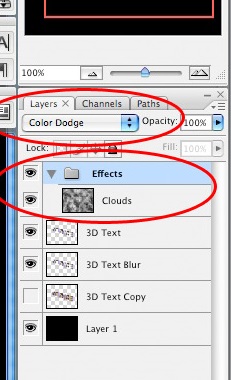
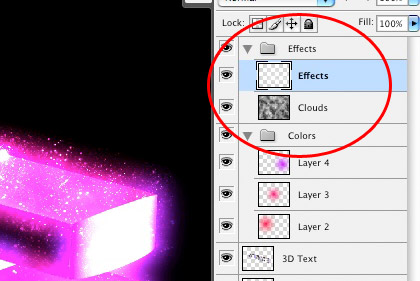
Now you have to create a few more layers defining the various effects and blending to your 3D design work. Start by creating a layer group named as “effects” and select its blending to option of Color Dodge. Next to successfully creating the new layer group and securing the existing layers you have to create a new layer for defining the filter in focus by choosing the “clouds” filter under Filters > Render that will bring that exclusive cloudy and smoky effect in a raw form to the 3D text in case.
Step 05 – Assigning colors and blending mode:
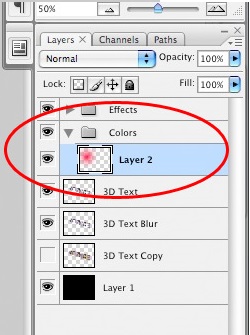
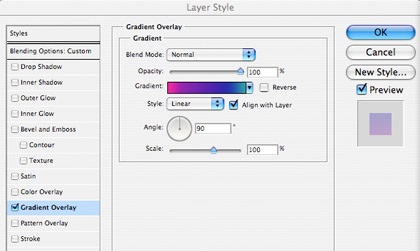
Now in your palette create a new group by naming it as colors right below the group for effects. Now under the group for colors you will need to create a new layer that will represent your chosen color as in the below mentioned screenshot pink color has been chosen. Now by making use of the gradient tool with radial mode, drawing a soft edge glow is required after which you will set the layer blending option to Soft Light.
Step 06 – Repeating the previous step:
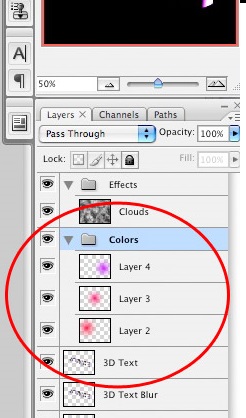
Now in order to bring real time brilliant to your design work, you will have to repeat step – 5 while adding a few more colors as shown below;
Step 07 – Adding Blur Effect:
Now if you remember, earlier in step 03 we created “3D text Blur”. Choose it now by selecting a Gaussian Blur with a 13 pixel radius. Gaussian Blur can be easily accessed by Filter then choosing the option for Blur.
Step 08 – Adding another touch with a white brush:
Now go to the “effects” group and create a new layer above the layer named “clouds”. Chose a brush of your choice and add white traces inside of the 3D text characters.
Step 09 – Adding another layer for Saturation:
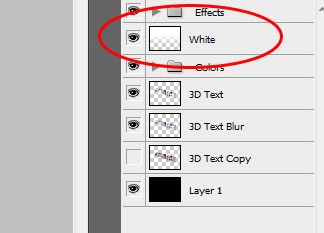
Now right between the two groups for “effects” and ”clouds” make new layer while renaming it as “White” while grabbing the gradient tool in linear mode by holding the shift key to the middle of the 3D text image to improvise it with brilliantly looking white saturation.
Step 10 – Adding abstract lights:
Now all you have to do is adding another new layer in the effects group and name it as “Abstract Lights” then by choosing the “3D Text” icon from the palette and add another customer abstract brush just as you did in the step 08 while using White color. Using a large custom brush is highly preferred in this case where you will draw only one cloud and apply the motion blur feature with angle -11, 200 pixels and 30% of opacity. Also make sure applying gradient overlay as shown in the below screenshot.
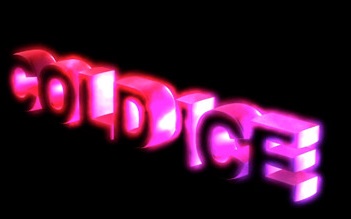
 Step 11 – Getting the final product:
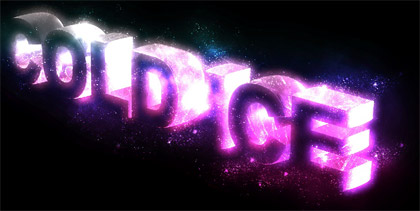
Now once you have absolutely done correctly and gone through all the above listed steps, it is the right time to have a look at such a stunning smoky and cloudy 3D effect around the text.